Using Lorem Picsum in your projects
Escrito por Juan Felipe Morales
17 de abril de 2023

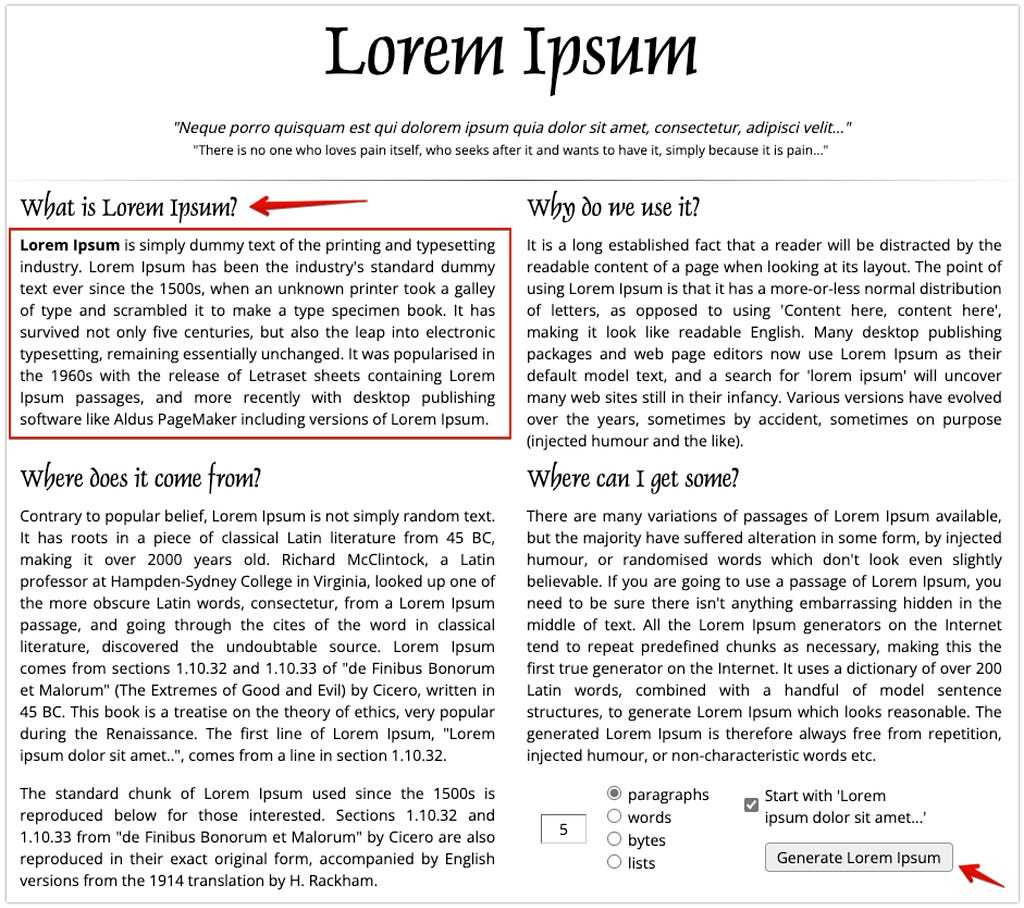
Well to start if you don’t understand the title, it could be you aren’t very techie, because basically “Lorem Ipsum” is used in design projects to fill information that you haven’t yet but eventually you will get, or when you develop in frontend, and you must need to fill information about someone, and for testing purposes fill with “Lorem Ipsum” text.
The first thing that you need to do is to found a lorem ipsum generator, here’s an example from the page https://www.lipsum.com/

Now with images
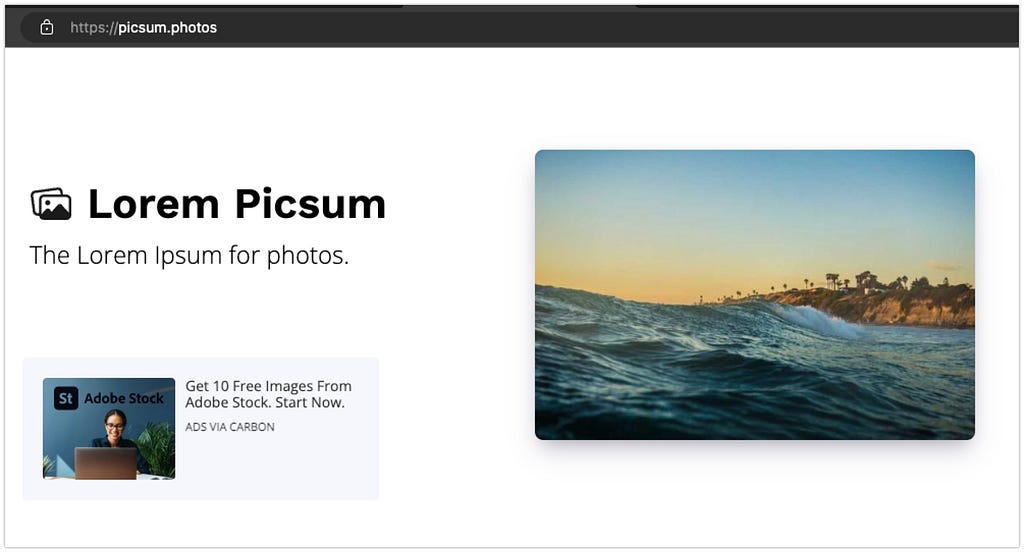
The same happens with some images, sometimes you need to insert an image as a “placeholder”, meaning leave that space with any image, that’s where the page https://picsum.photos/ comes in.

And well what you basically need is to find an image for your project or presentation or whatever you are doing, from this link https://picsum.photos/images there you can find many images which you can customize a bit.
Let’s say you already found the photo and it’s the following:
https://picsum.photos/id/2/500/350

I’ll explain the URL
https://picsum.photos/ you should always put it to begin with, then you will add the id/ parameter to let the page know that you want a specific photo in this case followed by the 2/ parameter to say that you want photo number two or the photo with the id 2, then comes the dimensions 500 for the width and 350 for the height, if in your case you need something different you can try the combination that you like the most, for example in my case I want to try the following combination:
https://picsum.photos/id/2/800/250

So you can try a number of resolutions so that the image adapts to your project and with good resolution.
Can you customize it?
That’s right, each image has a couple more parameters to be able to customize the image to your liking.
Blur
You can blur your image, so that it does not capture the attention of your project you can blur it to your liking for that there is another parameter that you can add at the end of your URL you must add the parameter ?blur=1 or ?blur=10. ( You can choose the number you want from 1 to 10)
https://picsum.photos/id/2/800/250?blur=1

As you can see in this image, the blur filter is barely perceptible since it is the lowest.
But in the next photo it does change wonderfully by applying the blur filter to 5.
https://picsum.photos/id/2/800/250?blur=5

It already looks different don’t you think?
Well we can play with the blur filter from 1 to 10
And that’s it?
Of course not, there is another filter that you can apply to your photos called grayscale at the end of your URL
https://picsum.photos/id/2/800/250?grayscale

Wow!, that looks really good right?
And good to finish you can also add the two parameters at the same time to your image
https://picsum.photos/id/2/800/250?grayscale&blur=3

And Voalá! a super professional image for your projects or presentations, which you can change the ID number at your whim as well as the measurements you need for your projects, applying filters to make it look more professional in a couple of instructions in the URL.
If you have any questions, you can comment here or send me a tweet at @johntzulik, if you know of any other tool I would like you to share it with me too.
Clapping costs nothing. :D

Using Lorem Picsum in your projects was originally published in 200 Response on Medium, where people are continuing the conversation by highlighting and responding to this story.


